Inseego Login to Get Rid of Buffer Zones!
Generally, the Inseego routers are renowned networking devices that connect you to the wireless network easily. Similarly, these are designed for 5Ghz bandwidth speeds and with superior heat management and low latency. Therefore, to experience such features of this gateway, Inseego login is a must.
Additionally, you can use the web address, Inseego Connect, and the app methods to carry out such a procedure. Similarly, to start with the Inseego router login, you must get ready with some necessary things. Further, if you want to explore the detailed steps for logging in and the essentials for this process, stay tuned to this page.

Primary Things for Inseego Admin Login
While you are going ahead with the login process for the Inseego indoor router, then must get ready with the different things, such as:

Inseego
router/ modem

internet
connection

Web
GUI
Default
admin details

Inseego
mobile app

Computer/
smartphone
What are the Quick Methods to Access the Inseego Login Interface?
Furthermore, to access the admin interface of the 5G Inseego router. So, to do so, you have to opt for the web GUI, Connect, and mobile app options. While selecting the appropriate method, then follow the steps carefully. Additionally, we share the detailed steps for each method in this section that will help you access the Inseego router login efficiently, so take a look once:
Inseego Admin Login
- Initially, check that your router is powered on.
- Next, connect the computer/laptop to the Inseego router’s network.
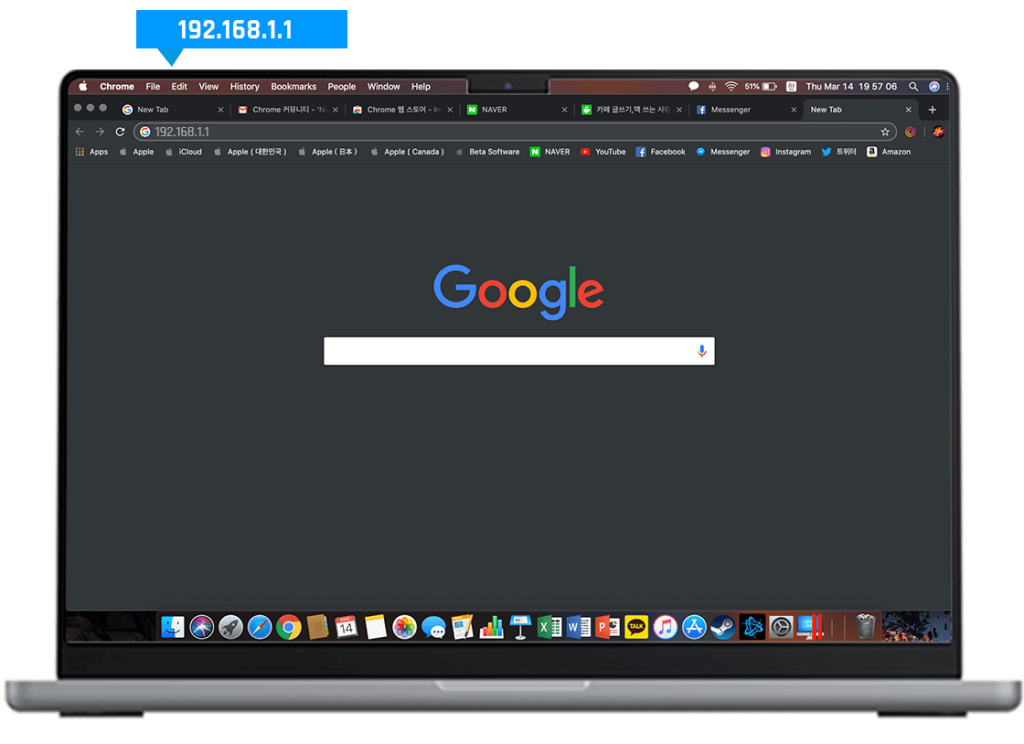
- Now, open the web browser and type inseego.local web address in the browser bar.
- You can use the 192.168.1.1 IP address instead of the web address.
- Here, a login window appears to you asking you to fill in the necessary details.
- Now, tap on Sign In and mention the default username and password in the given sections.
- After that, you land on the home dashboard of the Inseego gateway.
- You can now configure the basic settings, such as network bandwidth setup, changing network name & password, etc.
- Finally, you are done with the Inseego Login process.
Inseego Connect Login
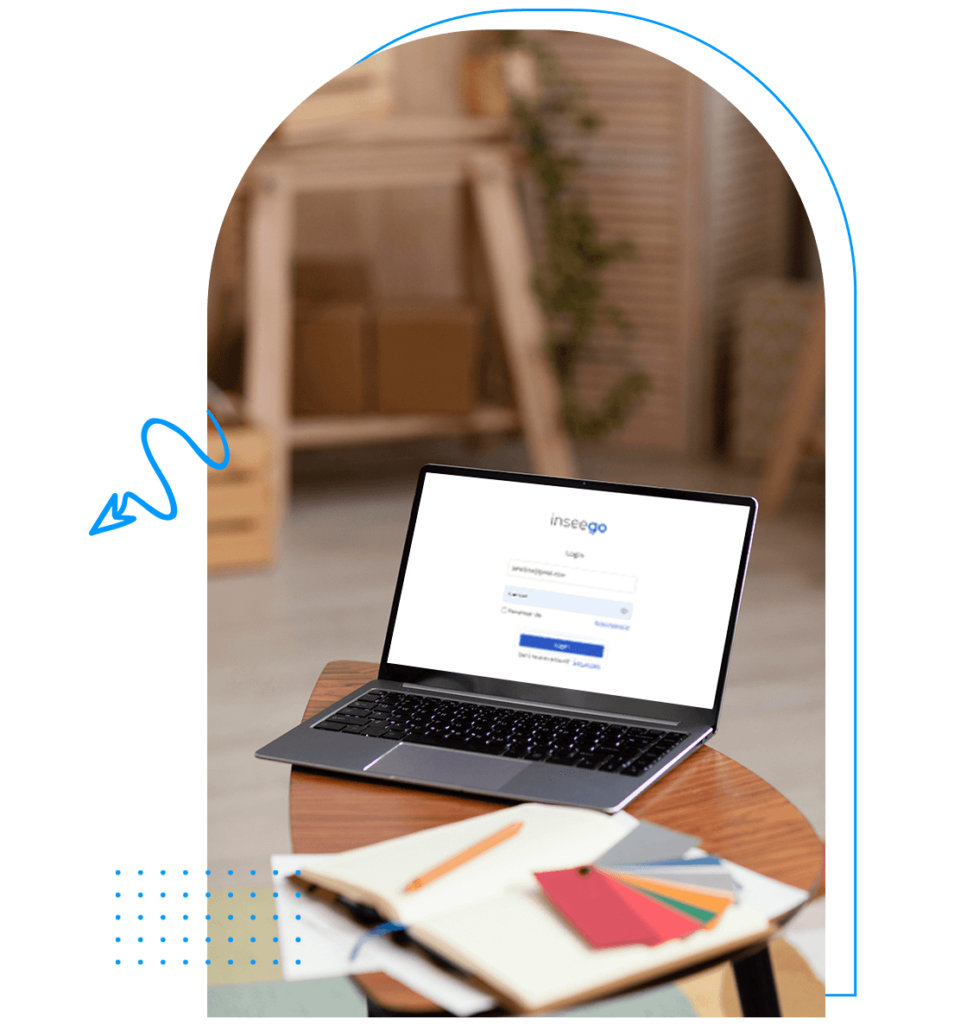
- To begin with, use your Windows system/laptop to join the Inseego wireless network.
- Now, open the web browser and mention the connect.inseego.com web or the 192.168.1.1 IP address in the URL bar of the computer.
- Hereon, a login window prompts you to click on the Sign up now, and ask you to key in the valid email address.
- Now, enter the valid email address and tap on Send Verification code.
- Further, check your mailbox, get the code, enter it on the login dashboard, and tap on Verify code.
- Remember this code is valid for 20 minutes otherwise, click on Sends a new code.
- After verification, mention the first and last name for your Inseego connect login page and set a complex password for your account.
- Afterward, click on Sign In and a new Agreement page opens to you to accept the terms & conditions.
- While accepting the Terms & Conditions, the home interface of the Inseego router displays you.
- At last, the login process for your Inseego gateway ends now.
Mobile Login
- First and foremost, confirm that the router is connected to a sufficient power supply.
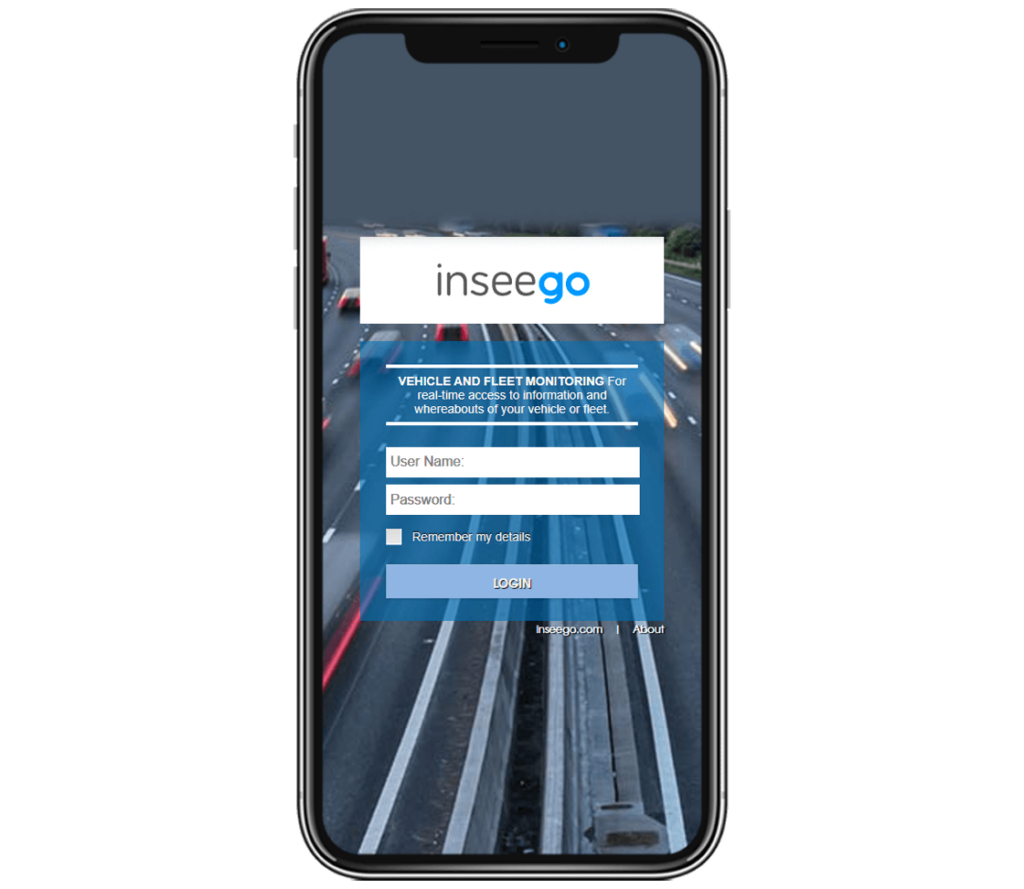
- Now, use your smartphone and visit its wifi settings to join the Inseego router’s network.
- Further, install the Inseego Mobile app by scanning the QR code in the Play/App Store or directly download it if you get the option.
- After that, open the app and accept the License Agreement by tapping on I agree.
- Further, you have to choose for your Inseego products, such as Mifi routers or Indoor/Outdoor routers.
- Here, a login screen will appear to you, and tap on the Signup Now option.
- This will redirect you to the Inseego connect login page.
- Here, enter the valid email address and tap on send verification code.
- Further, check your email box and enter the code to the login page.
- After that, follow the on-screen guidelines to complete the login.
- Lastly, the Inseego Mobile Login procedure is finished now.
How to Change the Inseego Router’s Admin Password?
Additionally, it is necessary to change the password of the router to secure your wireless connection. Similarly, you can use the app and the web address to modify these details. Besides this, we shed light on the primary steps to alter the password on the Inseego router through the web address method, so let’s have a look once:
- To start with, make sure your router is powered on.
- Now, link the computer/laptop to the Inseego router’s network.
- Next, open the web browser and type in inseego.local web address in the browser bar.
- Here, mention the default username and password on the login window that appears to you.
- After logging in, you visit the home dashboard of the router.
- Further, look for the Signout option and tap on the down arrow in the top-right corner of the Admin interface.
- Here, click on the Change Password option and mention the current password of your networking device.
- After that, tap on Continue and Re-enter the current password.
- Next, key in the new password and confirm it.
- Again, choose the security question from the drop-down Menu and write the answer for the selected question.
- Keep in mind that answers are case-sensitive, so fill in accordingly.
- Finally, tap on Save Changes and you are done with the admin password change process.
Pro Tip: If you are using the Inseego Connect method, then select Device>Admin Password from the Configured side Menu and follow further guidelines.
Troubleshooting Tips to Fix the Inseego Login Issues
Commonly, the login process for your Inseego router is very simple and anyone can access its interface. However, the newbies sometimes find this process complex and face several issues. These are an unstable network, incorrect login details, incomplete login steps, device incompatibility, etc.
Hence, to resolve the Inseego login issues, it is necessary to choose a suitable troubleshooting method. So, we highlight the primary fixes below, take a glance once
- Initially, check that the router and modem are linked appropriately.
- Ensure sufficient power supply to the router and the connected devices.
- Enter the accurate web/IP and admin details while accessing the web interface of the router.
- Eliminate the unnecessary browser data and check if it responds to the given web address, otherwise, shift to the new browser.
- Temporarily disable the security software, like Firewall/VPN/AD Blocker while logging in. You can re-enable them after completing the process.
- Remove the signal interference, such as furniture, mirrors, microwaves, baby monitors, cordless phones, and more.
- Place your Inseego gateway in a central location that is shaded and airy.
- Ensure the cable connections are joined properly and cords are not damaged.
- If you face issues with the wireless network, then use an ethernet cable to stabilize it.
- To fix the technical glitches and bugs, power cycle the router.
If you Still want to explore more? Get in touch with us!